Photographic Evidence in Checkout Reports: How Cleaning Standards Are Measured
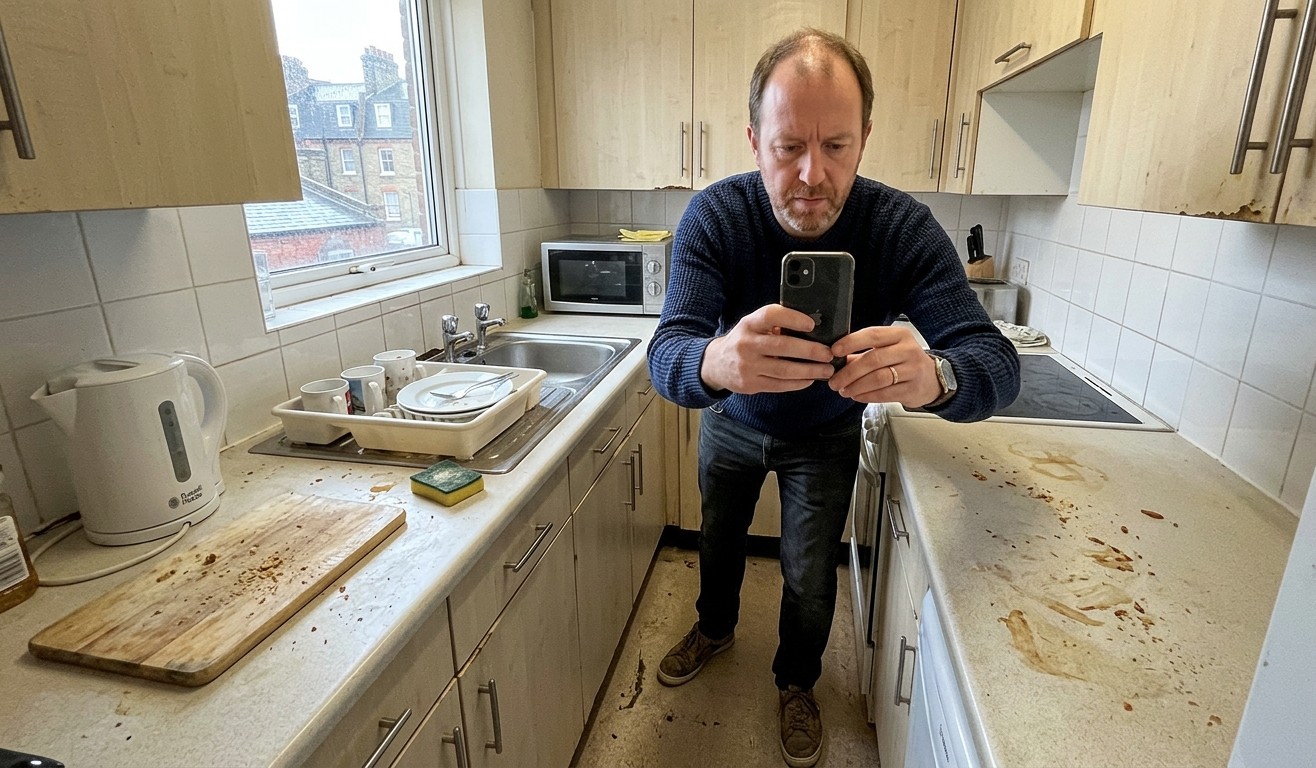
There’s a moment, familiar to anyone who has ever disputed a deposit deduction, that feels distinctly like being in a courtroom drama. The letting agent produces a photograph. You look at it. You recognise the kitchen – your kitchen, or at least it was until last Tuesday. And there, in high resolution and pitiless natural light, is something you absolutely did not notice when you handed back the keys.
Welcome to the modern checkout report. It is no longer a sheet of handwritten notes and vague descriptions about “marks to skirting boards.” Today’s inventory check-out is a meticulously documented photographic record, built to withstand scrutiny, adjudication, and the most indignant of tenant objections. Photography hasn’t just crept into the end-of-tenancy process – it has become the backbone of how cleaning standards are established, evidenced, and ultimately argued over.
Understanding exactly how it works puts you in a considerably stronger position.
The Check-Out Report Has Gone Very Digital
Why Your Landlord’s Camera Roll Is Now Your Problem
The shift from written inventory reports to photograph-heavy documentation has been gradual but, at this point, essentially complete across the professional rental sector in London. Ten years ago, a check-out report might have described a kitchen as “generally clean with some grease to hob” and left considerable room for interpretation. Today, that same observation arrives with six photographs, two close-ups, and a timestamp.
This change has been driven largely by the deposit dispute resolution process. When a tenant and landlord disagree over cleaning standards – and they very frequently do – the case goes to an adjudication service such as the Tenancy Deposit Scheme or MyDeposits. Adjudicators need evidence they can actually assess. Written descriptions like “dirty” or “not cleaned to a satisfactory standard” are subjective and easy to contest. A photograph of a grease-clogged filter sitting alongside a check-in photograph showing it pristine is considerably harder to argue with.
Professional inventory clerks now carry dedicated cameras or use high-resolution smartphones with consistent lighting equipment. Many use specialist inventory software that geotags photographs, timestamps them automatically, and links each image directly to a specific line item in the report. It is, in short, a far more rigorous process than most tenants anticipate – and the standard of evidence it produces is commensurately difficult to challenge.
What Inventory Clerks Are Actually Photographing
It’s More Systematic Than You Think
There’s a tendency to imagine inventory photography as a slightly random walk around the property, snapping whatever looks obviously dirty. The reality is considerably more methodical.
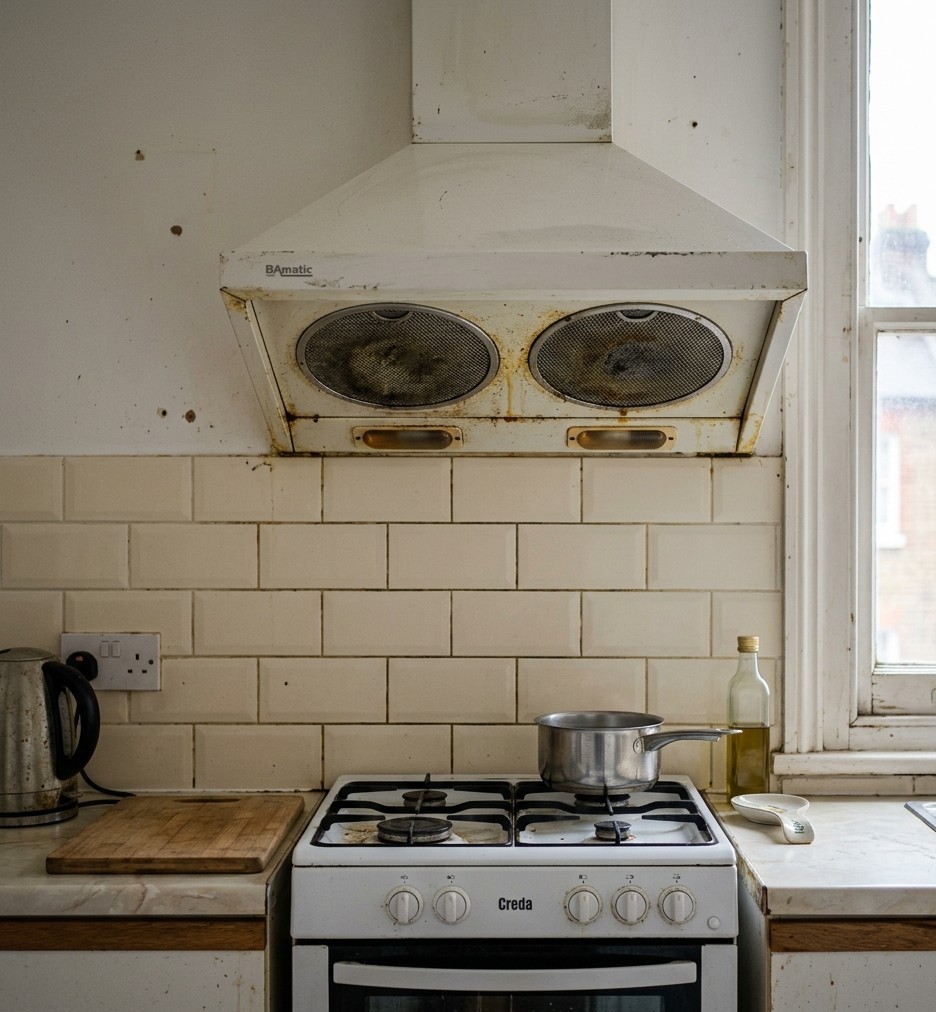
A professional check-out produces photographs of every room from multiple angles, capturing the general condition of walls, floors, and ceilings. Beyond that overview, specific items receive dedicated close-up documentation: the interior and exterior of the oven, the hob and its burner caps, the extractor fan and filters, the fridge and freezer interiors, bathroom fixtures including the toilet, basin, bath or shower tray, taps, and grout lines, all internal windows and sills, cupboard interiors, and light fittings.
The close-up photograph is particularly significant here. A wide-angle shot of a kitchen might look entirely presentable. Zoom into the gap between the hob and the worktop, or the silicone seal around the kitchen sink, and the story changes immediately. Inventory clerks know exactly where grease, limescale, and accumulated grime tend to settle, and those are precisely the spots that get the close-up treatment.
What this means in practice is that a surface-level clean – the kind where everything visible looks fine but the details haven’t been addressed – is very likely to produce incriminating photographic evidence. The camera, unlike a hurried final-day self-inspection, has absolutely no interest in giving you the benefit of the doubt.
The Before-and-After Problem
How Check-In Photos Come Back to Haunt You
This is the element of the process that catches tenants out most consistently, and it’s worth understanding clearly.
When you moved in, an inventory was compiled. It included photographs of the property’s condition at the start of your tenancy – the condition in which it was handed to you. Those photographs are retained. At check-out, a new set is taken of the same areas, from roughly the same angles. The two sets are then compared directly and systematically.
This comparison is, in effect, the entire basis of a deposit deduction claim. The landlord isn’t simply asserting that the property is dirty – they are arguing that it is in a worse condition than when you received it, and the photographs are the evidence. This is an important distinction, because it means that pre-existing issues documented at check-in cannot legitimately be charged to you. If the oven was already marked when you moved in and the check-in photographs show it, you cannot be held responsible for those marks at check-out.
It also means, however, that any deterioration in cleanliness between check-in and check-out is captured with before-and-after clarity. If the check-in photographs show a spotless bathroom and the check-out photographs show limescale on the shower screen and mildew in the grout, the comparison speaks for itself. No further argument is particularly necessary.
The forensic quality of this before-and-after record is precisely why professional landlords and managing agents invest in thorough check-in inventories. They are not doing it out of administrative enthusiasm.
What “Clean” Actually Means in a Photograph
The Camera Doesn’t Lie, But It Does Magnify
Here is something that genuinely surprises most people the first time they encounter it: photographic evidence used in deposit disputes is often taken in conditions specifically designed to reveal dirt. Natural light from an open window, angled torch light drawn across a surface, close-up lenses on a smartphone – these are standard tools in the inventory clerk’s kit, and they are extraordinarily effective at making things look considerably worse than they appear to the naked eye.
This isn’t sharp practice. It’s the operational definition of “clean” in a professional context. A surface that has been properly cleaned holds up under direct, angled light and close-up photography. A surface that has been wiped cursorily – or cleaned with the wrong products – tends not to.
Smears left by ineffective glass cleaner show up immediately under angled light. Greasy film on a hob that looks acceptable under overhead kitchen lighting reveals itself entirely under a torch. Limescale on chrome taps that seems minor in the bathroom mirror becomes stark in a close-up photograph. This is the standard being applied at check-out, and it’s worth adjusting your approach to cleaning accordingly rather than hoping the photographs will somehow be generous.
How to Clean With the Camera in Mind
Thinking Like an Inventory Clerk
The most useful mindset shift you can make when preparing a property for check-out is to stop thinking like someone who lives there and start thinking like someone whose job is to find fault. It’s not a comfortable mental gear to engage, but it is an effective one.
Work through each room with a torch – not because the property is poorly lit, but because angled torchlight will show you smears, streaks, and residue that overhead lighting misses entirely. This is exactly what the inventory clerk will do, so doing it yourself first means you find the issues before they’re documented.
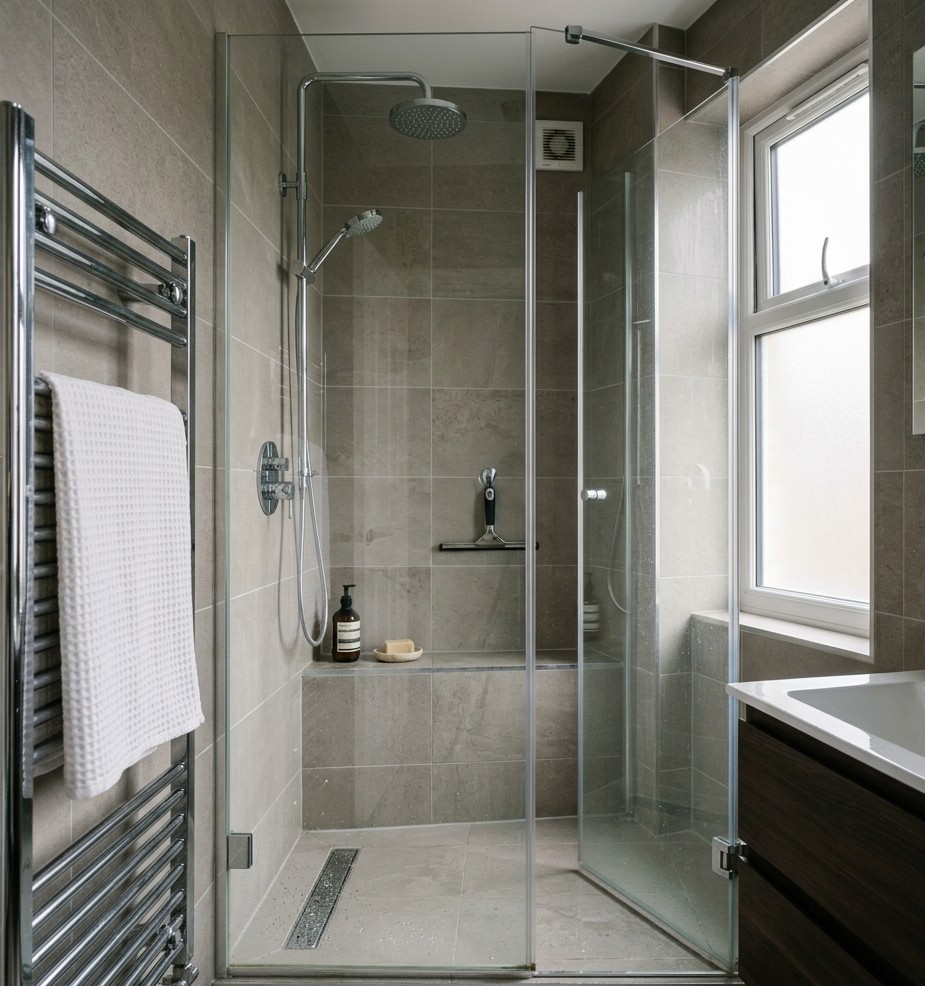
Glass surfaces deserve particular attention. Mirrors, oven doors, hob splashbacks, and shower screens are among the most photographed items in any check-out report, and they need to be cleaned to a genuinely streak-free finish using an appropriate glass cleaner and a clean microfibre cloth. A smeared mirror is one of the most avoidable photographic failures in the entire process.
Grout lines, tap bases, and appliance seals – the extractor fan filters, the rubber seal around the oven door, the silicone bead around the bath – are close-up photography staples. They are fiddly to clean, which is exactly why they tend to get skipped, and exactly why they reliably get documented.
Finally, check everything at floor level. Skirting boards, the base of toilet pedestals, the kick-boards beneath kitchen units – all systematically photographed, all systematically overlooked by tenants doing a last-minute clean.
When Photographs Work in Your Favour
The Case for Documenting Your Own Clean
The photographic evidence framework is not exclusively a weapon in the landlord’s arsenal. It works equally well for tenants – provided the tenant has thought to use it.
Before you hand back the keys, photograph the property yourself. Photograph every room, every appliance, every fixture that might plausibly become a point of contention. Use the same systematic approach a clerk would – wide shots and close-ups, good lighting, all areas covered. The date and time will be embedded in the file metadata automatically, but a quick photograph of that day’s date on your phone at the start of the session makes the timeline explicit and unambiguous.
If a dispute arises, your own photographic record showing the property in a clean condition on the day of departure is a directly relevant piece of counter-evidence. It doesn’t guarantee a favourable outcome – the comparison with check-in photographs still governs the overall picture – but it gives you something concrete to set against any claims made, and adjudicators are required to weigh all evidence submitted by both parties.
In a process that is fundamentally built around documentation, a tenant who has documented carefully is in a substantially stronger position than one who simply hopes their word will suffice. In the era of the photographic checkout report, hope turns out to be a surprisingly fragile legal strategy.